Showing posts with label recipeeeees. Show all posts

10.17.2012

for the sake of a picnic

Garlicky Greens Pasta Salad

ingredients
  • 1 lb garden arugula
  • 4 oz garden basil
  • 4 cloves garlic
  • .25 cup olive oil
  • pumpkin or sunflower seeds, toasted
  • sea salt
  • 1.75 c homemade chicken broth
  • Harvest Grains Blend (Israeli couscous, orzo, baby garbanzo, red quinoa)
  • feta, parm or romano to taste
prep
  • warm oil on med-low & add crushed garlic cloves for 3-5 min
  • wilt greens in garlic-laden oil 2 min or so & remove from heat
  • boil chicken broth, add half the package of grains blend (according to package directions), remove from heat & let sit covered 20 min
  • pour garlic greens oil mixture over grains, stir in toasted seeds & cheese to get it creamy
  • chill or serve immediately
  • offer flatbread (to soak up excess garlic oil, yum) & hummus on the side


5.17.2012

rhubarb curd


chopped rhubarb via Flickr


Last night I made something intended to be both dessert & breakfast. I try to encourage egg-based breakfast most mornings, varying as much as is reasonable for minimal prep time. Lately yogurt is a more refreshing temperature & tart/sweet combo, so I chilled the following curd recipe. It was lovely, filling & well-received by youngsters.

Rhubarb Curd (adapted from Lara Ferroni's recipe)

Ingredients

  • 15 stalks rhubarb
  • .25 cup raw sugar
  • handful of strawberry chunks (add optional sweetness)
  • 8 egg yolks
  • .5 cup raw sugar  
  • pinch of sea salt
  • 1 teaspoon lemon zest (optional)
  • 3 Tbsp butter, cut into chunks


  • Prep
    Wash and chop rhubarb into .5 inch chunks. Stir with .25 cup of sugar together & let sit 10 min or so. Place in a medium pot with .25 cup water & cook over low heat until you can no longer see whole pieces. Turn off heat & let cool to room temperature. Blend to a smooth puree. 


    In a double boiler (or a bowl over boiling water), whisk the egg yolks, remaining sugar & salt. Whisk until well combined & warm. Add stewed rhubarb one cup at a time & the lemon zest, while stirring, until you get the desired flavor and color. Keep stirring until the mixture is warm again. Remove from heat and stir in the butter chunks. 


    If you are not using the curd immediately, let it cool to room temperature and then store refrigerated for up to a week.

    10.06.2011

    Crock Pot Apples.Os

    Always a sucker for puns & homemade baby food. This version only takes little chunks of time throughout a couple of days, which is all the time I have.

    Ingredients
    • Bushel of organic apples (ours were Empire, from Henley's Orchard)
    • Purified water
    Prep
    • Wash apples & slice thin, discarding the stem & core. 
    • Pour 2 inches water into crock pot then pile apple slices atop. 
    • Set to "warm" overnight or "low" if you're stirring occasionally during the day.
    • Mash cooked apples & further puree with immersion blender
    • Pour applesauce into sterile, hot jars. Cover with hot lids & wait for that magic "pop."

    9.26.2011

    learning to draw

    image via imaginechildhood


    Sweet.mama.bliss.
    My boy is ready for crayons & blank paper (no coloring books in this house). After pining for these crayon rocks, I may fight against vacation-brain jetlag & try making some with the abundance of wax from a friendly beekeeper in Mum's neighborhood. The crayons are food safe & are reported to blend well. Their color is almost as concentrated as the crayons made with artist's pigment.


    Ingredients
    • 1 part grated soap (we think Dr. B's)
    • 1 part beeswax, also grated
    • food-safe pigment
    Prep
    • Melt beeswax in double boiler. Add grated soap & stir until soap melts & mixture is smooth. 
    • Color the mixture with food-safe pigment, such as concentrated food coloring paste that is sold with cake decorating supplies.
    • Pour into lubricated silicon molds. After testing the crayon, it can be melted again and more pigment added.

    8.19.2011

    you say tomato, i say roast that baby

    Oven Roasted Tomatoes
    image via Flickr (perfect example of how they should look)

    Love homemade sauce. Hate the process of blanching, cutting & de-seeding that comes before making sauce. Also hate the enormous kitchen mess & resulting clean-up time. Solution? An epicurious recipe, namely Provencal Oven-Roasted Tomato Sauce... minor adaptations have occurred.


    Ingredients
    • olive (or coconut) oil to spritz or brush on pans
    • 2-3 heads garlic
    • 10 lbs vine-ripened red tomatoes (big batch while they're so flavorful)
    • sea salt
    • 2 Tbsp fresh rosemary leaves
    • 1 Tbsp fresh thyme leaves
    • 6 Tbsp fresh orange juice, or to taste
    Prep
    • Preheat oven to 450°F. 
    • Spritz or lightly brush 2 cookie sheets with oil (we also use non-stick for this sort of thing).
    • Separate garlic heads into cloves, papery outer skin but keeping skin intact on cloves. Wrap in foil, crimping seams to seal tightly. 
    • Quarter tomatoes & arrange in one layer on cookie sheets. Generously sprinkle salt, rosemary & thyme evenly over tomatoes. 
    • Put foil-wrapped garlic on lower rack beside one of the cookie sheets to roast garlic & tomatoes in upper & lower thirds of oven. Switch position of pans halfway through roasting, about 35 minutes total, or until garlic is tender & tomatoes are slightly charred. Unwrap garlic and cool slightly.
    • Throw garlic & tomatoes into a large pot & use immersion blender to get the desired texture.
    • Finely chop remaining any extra rosemary/thyme & stir into sauce with orange juice. Season sauce with salt/pepper & reheat if necessary. 
    Notes
    • Sauce keeps, covered & chilled for 4 days or frozen up to 4 months. Reheat sauce over low heat & reseason with orange juice, salt, and pepper. To thicken, I recommend arrowroot powder 1 Tbsp at a time. 
    • To make the sauce into a soup, I add a discretionary amount of veggie broth during the reheat process. Once warm, we add basil to taste & 3 Tbsp heavy cream before serving.
    • For such a large batch, feel free to pressure can the sauce if your freezer doesn't have space.

    8.12.2011

    viet iced coffee, visual recipe

    In my chilled beverage stupor, I stumbled upon an iced coffee post by Giao Trac with superb art direction. Check.it.out.


    8.08.2011

    (almost) sun-dried tomatoes


    This weekend, we went a little canning-crazy. Sauce, soup, jam, & low temp oven-dried tomatoes. This was my first attempt, in honor of Nic's affinity for pasta with olive oil, sun-dried tomatoes & feta. His fondness actually began before we were dating when I made meals haphazardly (with these ingredients) hoping to impress him but also in denial of that fact. These babies are now my fav, partly because when they're done you can turn the oven off & throw fresh basil on the same cookie sheet (tomatoes removed). In 7 minutes you have crinkly basil ready to sprinkle in herb butter, goat cheese or more soups/sauces in your tomato-canning-hoopla!

    Ingredients
    • Roma tomatoes
    • Coconut or olive oil in a spray bottle
    • Sea Salt
    • Olive Oil
    • garlic, parsley & basil (dried)
    Prep
    • Set oven to 200F & spritz cookie sheet(s) with oil.
    • Quarter or halve (depending on size) tomatoes, discard seeds & arrange skin-side down on cookie sheet(s). 
    • Sprinkle salt atop & set in oven to dry until they shrivel to your liking.
    • Fill half-pint jar with dried, cooled tomatoes. Add a dash of dried garlic, parsley & basil before covering with olive oil (leave an inch or so space below the lid). Use conventional pressure-canning method & clearly label before storing.
    Note: Romas dry more easily on account of fewer seeds & a more uniform shape.

    8.05.2011

    we love meat

    image via foodstorageandsurvival.com

    It's true. And aside from a serious plan to can tomatoes this weekend, my brain is filled with ideas for smoking meat & making jerky. Maybe in a few years I'll have the advantage of three hunting boys in the fam.

    7.25.2011

    peach cobbler


    Saturday evening my parents & brother stopped by on their way back from visiting my Papa's grave. Pop loved peaches, so I made this recipe for the first time in his honor. (Sidenote: can you believe mum found this cast iron piece for $2.50 & it wasn't even rusted? It just needed to be seasoned!)


    Peach Cobbler, adapted from Epicurious

    Ingredients
      • 6 large white peaches* cut into thin wedges
      • 1 Tbsp arrowroot powder
    • *yellow peaches are more tart & may require additional .25 cup sugar

    (For biscuit topping)

    • 1 cup flour
    • .5 cup sugar
    • 1 tsp baking powder
    • .5 tsp salt
    • .75 stick cold unsalted butter, cut into small pieces
    • .25 cup boiling water
    Prep
    (Cook peaches)
    • Preheat oven to 425°F
    • Toss peaches with arrowroot powder in a 2-qt nonreactive baking dish & bake in middle of oven for 10 minutes.

    (While peaches bake)
    • Stir together dry ingredients. Blend in butter with a pastry blender until mixture resembles coarse meal. Stir in water until just combined.
    • Remove peaches from oven & drop spoonfuls of topping over them. Bake in middle of oven until topping is golden, approx. 25 minutes. Topping will spread as it bakes.

    7.04.2011

    Independence Day

    Kakaopulver - cocoa powder
    image via ostwestwind


    Excited to grill some meat smothered in this, for the Fourth festivities. It's a milder rendition of some bbq sauce we sampled from friends recently. This should be okay for toddler tummies & reduce the risk of diaper rash, I hope. Our boy likes spicy food until he passes it the next morn, sweet thing!


    Mocha-Chile rub

    • .3 cup brown sugar
    • .25 cup of finely ground dark coffee
    • 1.5 Tbsp black pepper 
    • 1.5 Tbsp red chile powder
    • Tbsp sea salt
    • 2 tsp granulated garlic
    • 2 tsp of cinnamon
    • 2 tsp cumin
    • 2 tsp cocoa powder
    • 1 tsp white chile powder
    Prep
    Combine all dry rub ingredients together until well blended with no lumps. Evenly coat meat (works well for pork shoulder, beef brisket or chicken). Refrigerate 6 hrs.

    Coffee Bbq sauce

    • 1 tsp coconut oil
    • .5 a medium vidalia onion, chopped or diced
    • 4 cloves garlic, minced
    • 2 cups ketchup
    • .25 cup horseradish mustard
    • .25 cup molasses
    • .25 cup honey
    • .25 cup brewed coffee
    • 2 canned peppers (chipotle or jalapeno), chopped
    • 2 tsp Worcestershire sauce
    • .25 tsp liquid smoke
    • .25 cup lime juice
    • squirt of chili-based hot sauce (we use Sriracha)
    • Salt & pepper to taste
    Prep
    Heat oil in a saucepan on medium & saute onions until translucent. Add the garlic & saute another minute. Add the rest of the ingredients, stir gently & turn burner to low for half an hour, stirring occasionally. Remove sauce from heat, let cool to room temp & puree until smooth. Makes app 2 cups, keeps in fridge a week or so (unless you can it immediately).

    6.30.2011

    blackberry creamsicles

    Colander
    image via onenjen (I was too excited to think of a photo first)

    So simple & so delish! We're also doing peach creamsicles.

    Ingredients
    • 2 quarts blackberries
    • 2 quarts heavy cream
    • 1 tsp vanilla extract
    Prep
    • Puree blackberries to a pulp. (Optionally remove seeds by straining pulp through a sieve.)
    • Whip cream with vanilla extract until stiff peaks form.
    • Fold puree into whipped cream.
    • Pour into popsicles molds & freeze

    6.29.2011

    peaches & cream porridge mask

    local peaches
    image via Flickr (ours were seconds, not pretty but tasty)

    It feels delicious on your skin, it tastes just as good if some "falls" into your mouth. Thoroughly enjoyable, & Elijah was very entertained trying to poke my face & taste what looked like food. And it is food!

    Ingredients
    • .5 medium sized, ripe peach
    • .5 cup oat-almond scrub
    • 1 Tbsp (app.) distilled water (for oily skin), milk (for normal skin) or cream (for dry skin)

    Prep
    • blend all ingredients & let thicken 1 min
    • if too runny, sprinkle extra dry scrub mixture
    • if too firm, splash extra cream
    • use immediately
    Use
    • Wash your face like normal or use just after shower/bath
    • Using your fingers, massage scrub onto face & throat.
    • Relax 20 min (snack on any unused mixture)
    • Rinse & moisturize as usual

    6.17.2011

    a goldmine of beeswax


    image of beeswax, via IlluminatedPerfume


    While browsing for bulk herbs I recently decided to make beeswax part of the order, thinking I would only use it for salves & perhaps candles. Then stumbling around pricing options for non-toxic, food-safe furniture polish... I found a trove of beeswax recipes! (Think high-chair tray, wooden bowls & utensils, toys & dining table that will certainly all be gnawed by little teeth.) Ultimately, I'm sticking to the principles listed by Etsy vendor woodmouse.

    Ingredients
    • 1 part beeswax
    • 4 parts oil (in our case, coconut oil)
    • lemon juice or essential oil
    • cotton rag
    • wool for buffing
    Prep
    • Fill a measuring cup with one cup of your chosen oil
    • Add beeswax shavings to your measuring cup until it reads 1.25 cups
    • Melt beeswax into oil using a double boiler on the stove top; melting temperature is just under 150 F.  Stir during melting process so all beeswax is fully dissolved.  Mixture will now look like a liquid oil.  If you want to add lemon juice or essential oils, blend them in before it cools.
    • Pour into container with a wide enough opening to stir mixture as it cools, to prevent separation of wax from oil. A few times over a couple hours is enough & leaves wood polish even & creamy.
    Use
    Once fully cooled, gather all the wooden items in your house & rub it into the wood. A little goes a long way, so wipe the excess with a cotton cloth & buff with wool if you have some around.

    Store
    In an airtight container, away from direct sunlight.  Jojoba oil based polish lasts two years; olive oil will last one year.  If you don't think you will use your polish very fast & are worried it will go rancid, store in the fridge to double the shelf life. 

    6.09.2011

    summer berry sorbet

    shown with mum's shortcake

    Some recipes give instructions to cook the berries down before mashing & freezing. Our whole goal was to eat more raw food so we skipped that step.

    Sorbet
    • .5 cup strawberries
    • 3 cups raspberries
    • .5 cup mulberries
    • .5 cup water

    • whipping cream
    • vanilla extract
      Prep
      • Throw all berries into food processor & blend into puree. Add water & optional .25 cup sugar (if raspberries are especially tart). 
      • Pulse to blend & pour into freezer-safe container. Freeze 12 hrs.
      • Thaw 30 minutes at room temp or 2 hrs in fridge before attempting to scoop.
      • Whip cream with vanilla extract to top.

      Shortcake (adapted from this one)
      • 2 cups flour
      • 4 tsp baking powder
      • .75 tsp salt
      • .3 cups raw sugar
      • 2 Tbsp butter
      • 2 Tbsp shortening (can sub coconut cream)
      • .75 cup half & half
      • melted butter to brush shortcakes
      Prep
      • Heat oven 400 F.
      • In a large bowl, combine flour, baking powder, salt & sugar. Cut in butter & shortening/coconut cream. Mix in half-&-half. 
      • Drop by large spoonfuls onto a baking sheet. Brush with melted butter & sprinkle with sugar. Bake 15 minutes or until brown.
      • Cool and eat!

        6.07.2011

        fresh herb slaw

        image via Etsy

        Slaw
        • 1 head cabbage, shredded
        • 5 carrots, peeled & shredded
        • .5-1 cup diced vidalia or red onion
        • creamy dressing, well blended

        Dressing
        • 1 tsp dijon mustard
        • 2 Tbsp + 1 tsp vinegar (white, sushi, you pick)
        • .5 cup extra virgin olive oil
        • 1 Tbsp flax seed oil (or sesame)
        • .5 cup heavy cream
        • fresh dill, basil, rosemary & parsley (I went heavy on the dill)
        • salt to taste

        6.06.2011

        healing salve

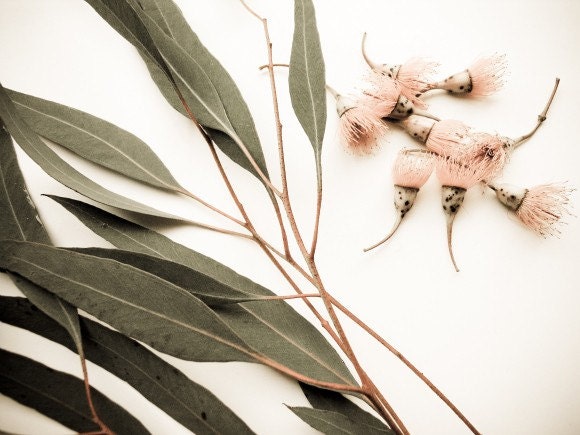
        (eucalyptus) image via GrainnePhotography


        Summer = exposed skin = boo boos. This topical salve is perfect for diaper rash, scrapes, cuts, burns, bites & stings to speed healing & prevent infection. More creamy than sleepy balm, the amount of tea tree oil makes it smell somewhat medicinal so avoid close contact with mucous membranes on sensitive little ones.

        Ingredients
        • 3 Tbsp olive oil
        • 3 Tbsp coconut oil
        • 1.5 tsp beeswax
        • 15 drops tea tree oil
        • 15 drops calendula
        • 5 drops peppermint essential oil
        • 5 drops eucalyptus essential oil
        Prep
        • In small saucepan over low heat or in a double boiler, combine oils with wax & gently warm until wax has just melted. 
        • Remove from heat, allow to cool 5 min & add essential oils. Stir to blend.
        • Pour into storage container(s). Allow to cool 20 min before capping containers.
        • No refrigeration required, but freshest when used within 6 months.
        Apply
        Smear as needed.

        5.31.2011

        sleepy balm


        At baby bedtime, it's still pretty bright outside. So mama concocted a batch of sleepy balm to rub on the temples & chest for dreamy wafting smells all night. A bit flowery, perfectly delightful & soothing, very gentle on the skin. I used less wax than other recipes to account for coconut oil being solid at room temp.

        Ingredients
        • 2 Tbsp sesame oil
        • 4 Tbsp coconut oil
        • 1 Tbsp beeswax (.5 oz)
        • 20 drops lavender essential oil
        • 10 drops chamomile or geranium essential oil
        • 5 drops peppermint essential oil
        • 5 drops eucalyptus essential oil
        Prep
        • In small saucepan over low heat or in a double boiler, combine oils with wax & gently warm until wax has just melted. 
        • Remove from heat, allow to cool 5 min & add essential oils. Stir to blend.
        • Pour into storage container(s). Allow to cool 20 min before capping containers.
        • No refrigeration required, but freshest when used within 6 months.
        Apply
        A little salve goes a long way when applied under the nose, on the throat, temples, hands, &/or chest just before bedtime.  Also relaxing when suffering from a headache, nervous tension or anxiety (like when babe's molars are cutting).

        *Edit*
        I find coconut oil to be great for cradle cap, so after coating my hands in this balm I sometimes rub it all over baby's head. Immensely helpful with a touchy/fussy one like Os in the afternoons.

        5.25.2011

        edible facial scrub


        image via Flickr

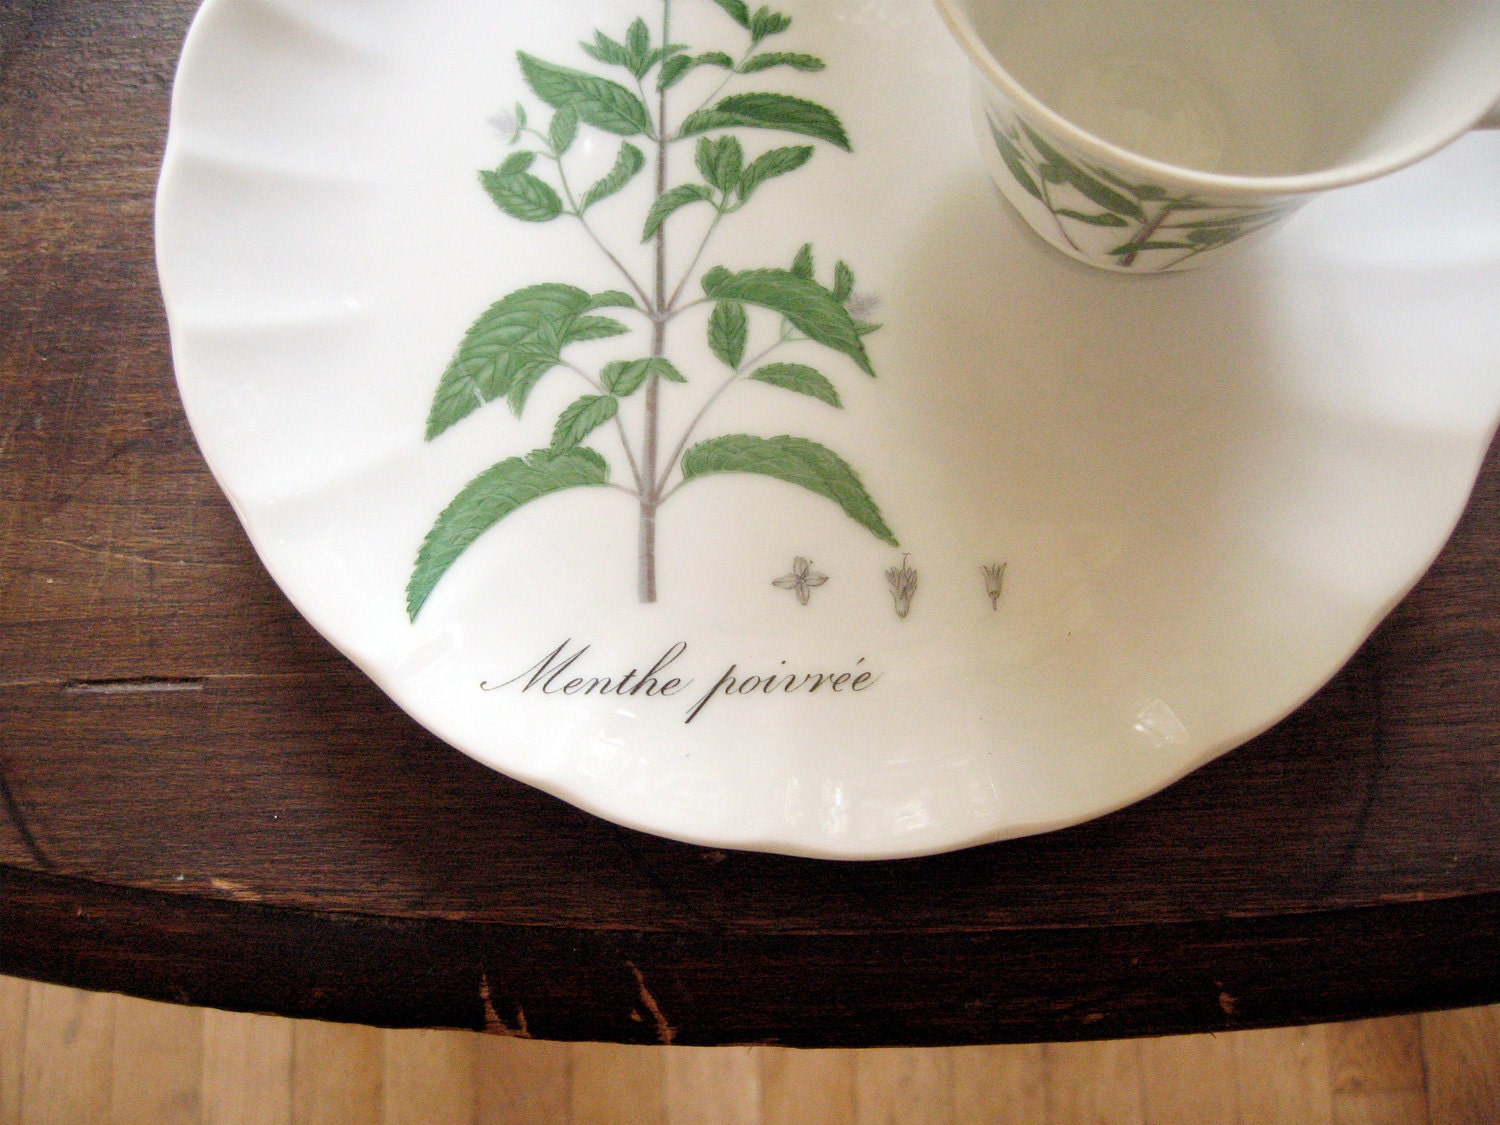
        Been reading Organic Body Care Recipes. Loving the All-Purpose Scrub described on page 176. After using it daily for a week (face only), I'm convinced enough to make batches big enough to scrub elbows, knees & feet too. It is barefoot weather, after all.
        Ingredients
        • .5 cup ground oatmeal
        • .25 cup almond meal
        • .25 sunflower seed meal
        • 1 tsp ground peppermint, spearmint or rosemary leaves
        • dash cinnamon (for fragrance)
        • Purified water (for oily skin), milk (for normal skin) or cream (for dry skin) 
        To store
        After dry ingredients are combined, storing in a Ziploc bag or lidded jar/tin would work. No need to refrigerate dry ingredients, but best results come when used within 6 months.

        To mix for use
        • In small bowl, mix 1 Tbsp dry scrub mixture with enough water/milk/cream (see above) to form a spreadable paste. Allow to thicken for 1 min.
        • Using your fingers, massage scrub onto face & throat. Rinse.
        • Doubles as a facial mask if you leave it to dry on your face for 20 min before rinsing.

        5.19.2011

        greens for your face

        image via roadtothelakehouse

        Love that we can use greens from our CSA for homemade cosmetics, via Organic Body Care Recipes.

        Parsley & Peppermint Astringent
        Ingredients
        • 2 cups distilled water
        • .25 cup fresh, chopped parsley
        • .25 cups fresh, chopped peppermint leaves
        • 5 drops peppermint essential oil
        Prep
        In small saucepan, bring water to a boil & remove from heat. Add herbs, cover & steep for 30 min. Add essential oil (if desired) & stir to blend. Strain into storage container(s). Shake well. Refrigerate for up to 1 week, then discard.
        Apply
        Using a cotton cleansing pad, apply 1 tsp to the face or more as needed to the throat, neck, shoulders or back. Avoid eye area.
        Doubles as a hair rinse to enhance natural highlights in brown/red/black hair.

        4.04.2011

        freezer & pantry


        image via ohsillymonkey

        Slowly but steadily restocking with:
        • more quiche
        • calzones
        • pulled beef bbq
        • tuna melts
        • maple-pecan granola
        • Asian dumplings from Martha!

        Tuna Melt
        Ingredients
        • 22 oz tuna (canned in water)
        • 5-6 Tbsp butter, room temp
        • 8 oz sharp cheddar spread (Kaukauna type), room temp
        • sea salt & pepper to taste (optional to add garlic powder, Old Bay seasoning, etc)
        • 1 package English muffins
        Preparation
        • combine items 1-4 & stir until mixture is good & sticky
        • smear thickly on each half of English muffin & toast/bake around 400F until top of melt is browning & edges of muffin are crisp
        • freeze extras open-faced until you want to eat them
        Related Posts with Thumbnails