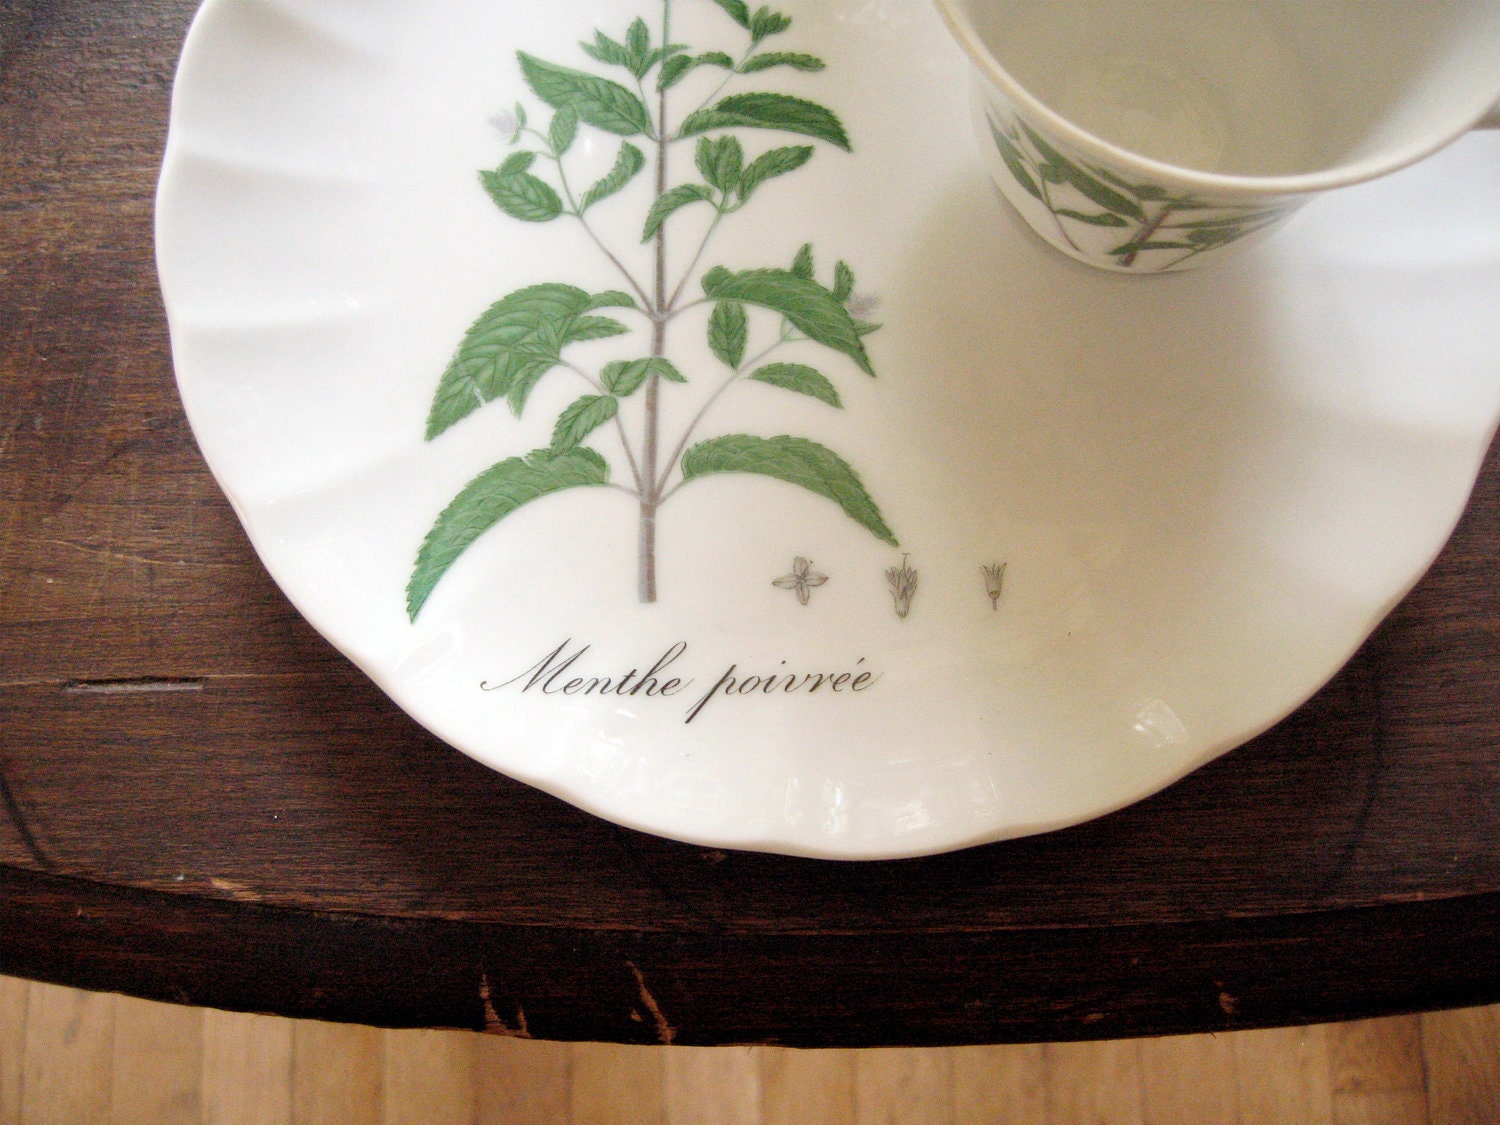
Shameless plug for the well-crafted work of a friend. I envy her ruffle foot like no other.
Showing posts with label diy tutorial. Show all posts
8.11.2011
Mari Makes: Project Tutorial - Budget Anthropologie Duvet
deals with:
diy tutorial,
home improv,
repurposed materials
7.13.2011
before & after: our dresser
Recently a friend handed down a dresser to us, just before moving across country. It was perhaps butter cream yellow (front face in first photo). After scraping through three colors of paint & a dark stain (side shown in first photo) with various grains of sandpaper (60, 80, 120, 150), a coat of sunbleached stain & a coat of beeswax sealant make it as grainy grey as driftwood. Mission success! Now we're hunting down some marine rope to knot into drawer pulls.
deals with:
diy tutorial,
home improv,
vintage love,
weekending
6.20.2011
a little lavender crazy
Source: Elizabeth's garden; thanks, girl!
Yield:
8 cups of buds (to dry), plenty of extra stems to steep or admire
Results:
- hydrosol (tutorial video reference here)
- syrup (for beverages)
- sleepy balm (extra batch)
- eye pillows
- infused oil
deals with:
diy tutorial,
foraging,
handmade,
Richmond love,
weekending
6.17.2011
a goldmine of beeswax
While browsing for bulk herbs I recently decided to make beeswax part of the order, thinking I would only use it for salves & perhaps candles. Then stumbling around pricing options for non-toxic, food-safe furniture polish... I found a trove of beeswax recipes! (Think high-chair tray, wooden bowls & utensils, toys & dining table that will certainly all be gnawed by little teeth.) Ultimately, I'm sticking to the principles listed by Etsy vendor woodmouse.
Ingredients
- 1 part beeswax
- 4 parts oil (in our case, coconut oil)
- lemon juice or essential oil
- cotton rag
- wool for buffing
Prep
- Fill a measuring cup with one cup of your chosen oil
- Add beeswax shavings to your measuring cup until it reads 1.25 cups
- Melt beeswax into oil using a double boiler on the stove top; melting temperature is just under 150 F. Stir during melting process so all beeswax is fully dissolved. Mixture will now look like a liquid oil. If you want to add lemon juice or essential oils, blend them in before it cools.
- Pour into container with a wide enough opening to stir mixture as it cools, to prevent separation of wax from oil. A few times over a couple hours is enough & leaves wood polish even & creamy.
Once fully cooled, gather all the wooden items in your house & rub it into the wood. A little goes a long way, so wipe the excess with a cotton cloth & buff with wool if you have some around.
Store
In an airtight container, away from direct sunlight. Jojoba oil based polish lasts two years; olive oil will last one year. If you don't think you will use your polish very fast & are worried it will go rancid, store in the fridge to double the shelf life.
deals with:
diy tutorial,
handmade,
home improv,
organic efforts,
recipeeeees,
weekending
6.06.2011
healing salve
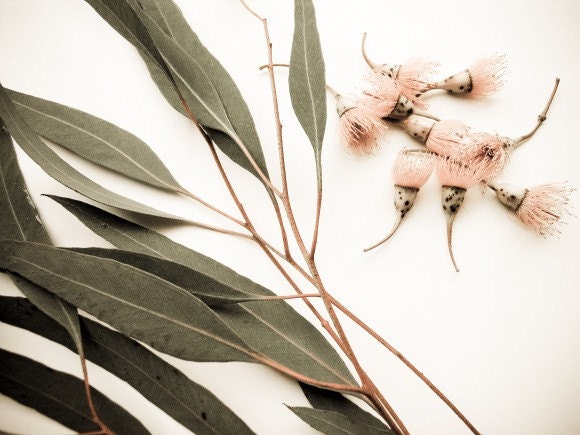
(eucalyptus) image via GrainnePhotography
Summer = exposed skin = boo boos. This topical salve is perfect for diaper rash, scrapes, cuts, burns, bites & stings to speed healing & prevent infection. More creamy than sleepy balm, the amount of tea tree oil makes it smell somewhat medicinal so avoid close contact with mucous membranes on sensitive little ones.
Ingredients
Smear as needed.
Summer = exposed skin = boo boos. This topical salve is perfect for diaper rash, scrapes, cuts, burns, bites & stings to speed healing & prevent infection. More creamy than sleepy balm, the amount of tea tree oil makes it smell somewhat medicinal so avoid close contact with mucous membranes on sensitive little ones.
Ingredients
- 3 Tbsp olive oil
- 3 Tbsp coconut oil
- 1.5 tsp beeswax
- 15 drops tea tree oil
- 15 drops calendula
- 5 drops peppermint essential oil
- 5 drops eucalyptus essential oil
- In small saucepan over low heat or in a double boiler, combine oils with wax & gently warm until wax has just melted.
- Remove from heat, allow to cool 5 min & add essential oils. Stir to blend.
- Pour into storage container(s). Allow to cool 20 min before capping containers.
- No refrigeration required, but freshest when used within 6 months.
Smear as needed.
deals with:
diy tutorial,
foraging,
handmade,
homegrown,
natural remedy,
organic efforts,
recipeeeees
5.31.2011
sleepy balm
At baby bedtime, it's still pretty bright outside. So mama concocted a batch of sleepy balm to rub on the temples & chest for dreamy wafting smells all night. A bit flowery, perfectly delightful & soothing, very gentle on the skin. I used less wax than other recipes to account for coconut oil being solid at room temp.
Ingredients
- 2 Tbsp sesame oil
- 4 Tbsp coconut oil
- 1 Tbsp beeswax (.5 oz)
- 20 drops lavender essential oil
- 10 drops chamomile or geranium essential oil
- 5 drops peppermint essential oil
- 5 drops eucalyptus essential oil
- In small saucepan over low heat or in a double boiler, combine oils with wax & gently warm until wax has just melted.
- Remove from heat, allow to cool 5 min & add essential oils. Stir to blend.
- Pour into storage container(s). Allow to cool 20 min before capping containers.
- No refrigeration required, but freshest when used within 6 months.
A little salve goes a long way when applied under the nose, on the throat, temples, hands, &/or chest just before bedtime. Also relaxing when suffering from a headache, nervous tension or anxiety (like when babe's molars are cutting).
*Edit*
I find coconut oil to be great for cradle cap, so after coating my hands in this balm I sometimes rub it all over baby's head. Immensely helpful with a touchy/fussy one like Os in the afternoons.
deals with:
diy tutorial,
foraging,
handmade,
homegrown,
natural remedy,
organic efforts,
recipeeeees
5.25.2011
edible facial scrub

image via Flickr
Been reading Organic Body Care Recipes
Ingredients
- .5 cup ground oatmeal
- .25 cup almond meal
- .25 sunflower seed meal
- 1 tsp ground peppermint, spearmint or rosemary leaves
- dash cinnamon (for fragrance)
- Purified water (for oily skin), milk (for normal skin) or cream (for dry skin)
After dry ingredients are combined, storing in a Ziploc bag or lidded jar/tin would work. No need to refrigerate dry ingredients, but best results come when used within 6 months.
To mix for use
- In small bowl, mix 1 Tbsp dry scrub mixture with enough water/milk/cream (see above) to form a spreadable paste. Allow to thicken for 1 min.
- Using your fingers, massage scrub onto face & throat. Rinse.
- Doubles as a facial mask if you leave it to dry on your face for 20 min before rinsing.
deals with:
diy tutorial,
handmade,
natural remedy,
organic efforts,
recipeeeees
5.19.2011
greens for your face
image via roadtothelakehouse
Love that we can use greens from our CSA for homemade cosmetics, via Organic Body Care Recipes
.
Parsley & Peppermint Astringent
Ingredients
In small saucepan, bring water to a boil & remove from heat. Add herbs, cover & steep for 30 min. Add essential oil (if desired) & stir to blend. Strain into storage container(s). Shake well. Refrigerate for up to 1 week, then discard.
Apply
Using a cotton cleansing pad, apply 1 tsp to the face or more as needed to the throat, neck, shoulders or back. Avoid eye area.
Doubles as a hair rinse to enhance natural highlights in brown/red/black hair.
Love that we can use greens from our CSA for homemade cosmetics, via Organic Body Care Recipes
Parsley & Peppermint Astringent
Ingredients
- 2 cups distilled water
- .25 cup fresh, chopped parsley
- .25 cups fresh, chopped peppermint leaves
- 5 drops peppermint essential oil
In small saucepan, bring water to a boil & remove from heat. Add herbs, cover & steep for 30 min. Add essential oil (if desired) & stir to blend. Strain into storage container(s). Shake well. Refrigerate for up to 1 week, then discard.
Apply
Using a cotton cleansing pad, apply 1 tsp to the face or more as needed to the throat, neck, shoulders or back. Avoid eye area.
Doubles as a hair rinse to enhance natural highlights in brown/red/black hair.
deals with:
diy tutorial,
foraging,
handmade,
natural remedy,
organic efforts,
recipeeeees
7.02.2010
frugal franny: Roman shades
After taking a look at this tutorial on making shades out of mini blinds (which were all over our house when we bought it), I decided to simplify. After sewing a panel the exact size of the window blind I fastened ribbon ties (starting at the top) 6 inches from the sides so they just tie onto the pulley system of the blind. The ties, made of twill tape, are every every 9 inches, & they allow you to leave the blind in tact rather than removing slats & gluing fabric. And yes that glass pendant lamp shade is killing me; I really want it to be this galvanized look, for a pleasant tension of the soft floral & a chunk of hayloft.
If your color palatte changes frequently or you're renting right now... if you're pregnant, in nesting phase & compulsively moving furniture about... if you want your kitchen shades to be thin like a pillowcase & let in more light... this tie-on method can help! It works well to darken our nursery for napping as well, using upholstery weight fabric.
deals with:
diy tutorial,
handmade,
home improv
Subscribe to:
Posts (Atom)